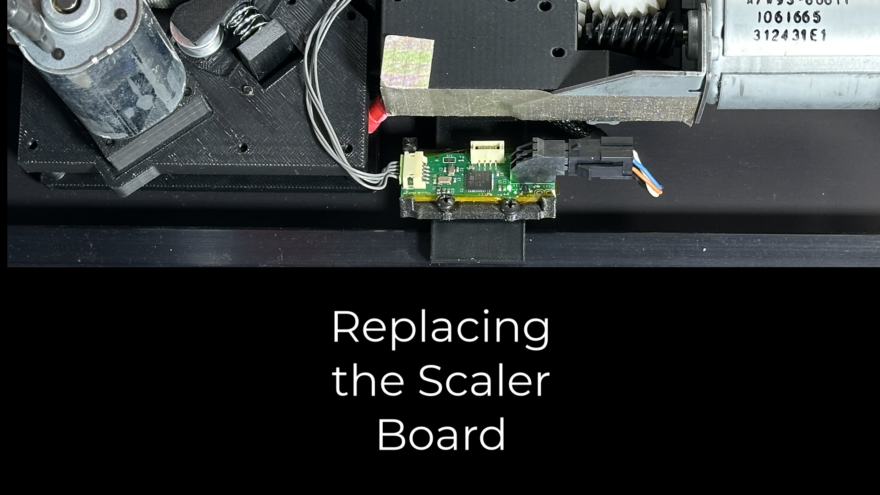
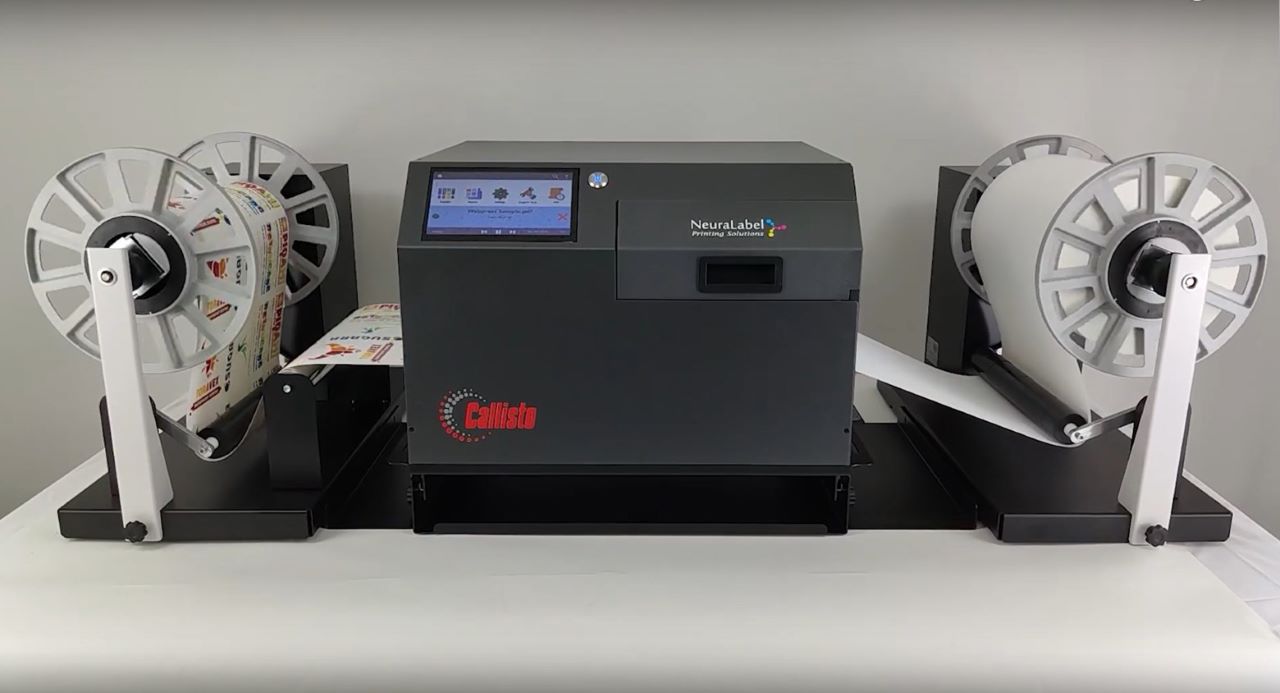
The Callisto printer includes a Scaler Board (or Scalar Board) that controls the precision of the print length. The printer cannot properly print or load media without this board. This video shows the steps required for replacing the Callisto Scaler Board.
Before changing the scaler board, make sure the printer is powered off. The scaler board is located underneath the printer, and you do not need to remove the cover or open the printer to change the board. A Phillips screwdriver is needed.
Locate and Remove Scaler Board
Turn the printer off and place it on its back. Locate the scaler board.
Depending on the age of the printer, the scaler board may have either of these connectors.
Using a Phillips screwdriver, remove the 2 screws holding the board in place.
Remove the left side connector; then remove the right side connector.
You are now ready to replace the board.
Install New Scaler Board
For the new board, attach the left side connector first. Then attach the right side connector. Make sure both connectors are securely fastened.
Next reattach the board with the 2 Phillips screws.
Return the printer to its upright position. Reattach the power cable and power the printer on to test the board.
Test the Printer
When powered on, the scaler board blinks a green LED. This light can be seen by looking under the printer.
If needed tilt the printer up to see the blinking light.
The scaler board installation is now complete. Be sure to verify that the printer now properly loads media and prints.
If you have any questions, contact support or visit the Support Library for more information.

