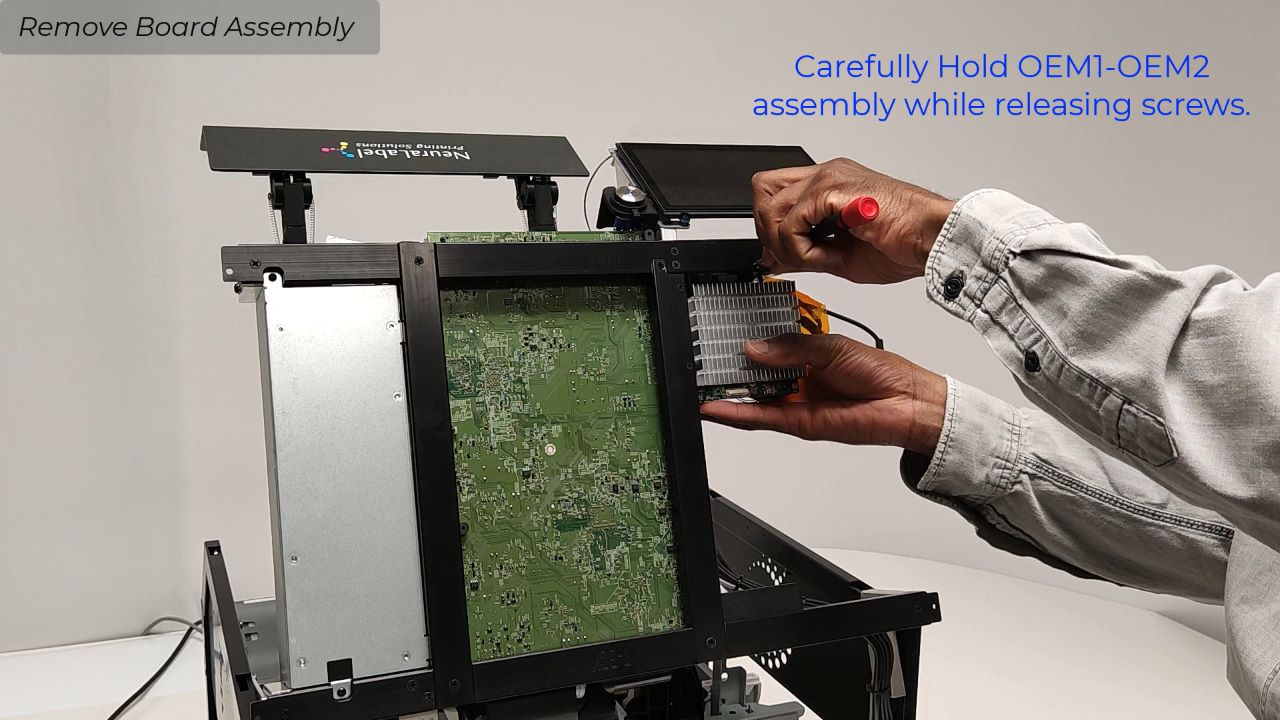
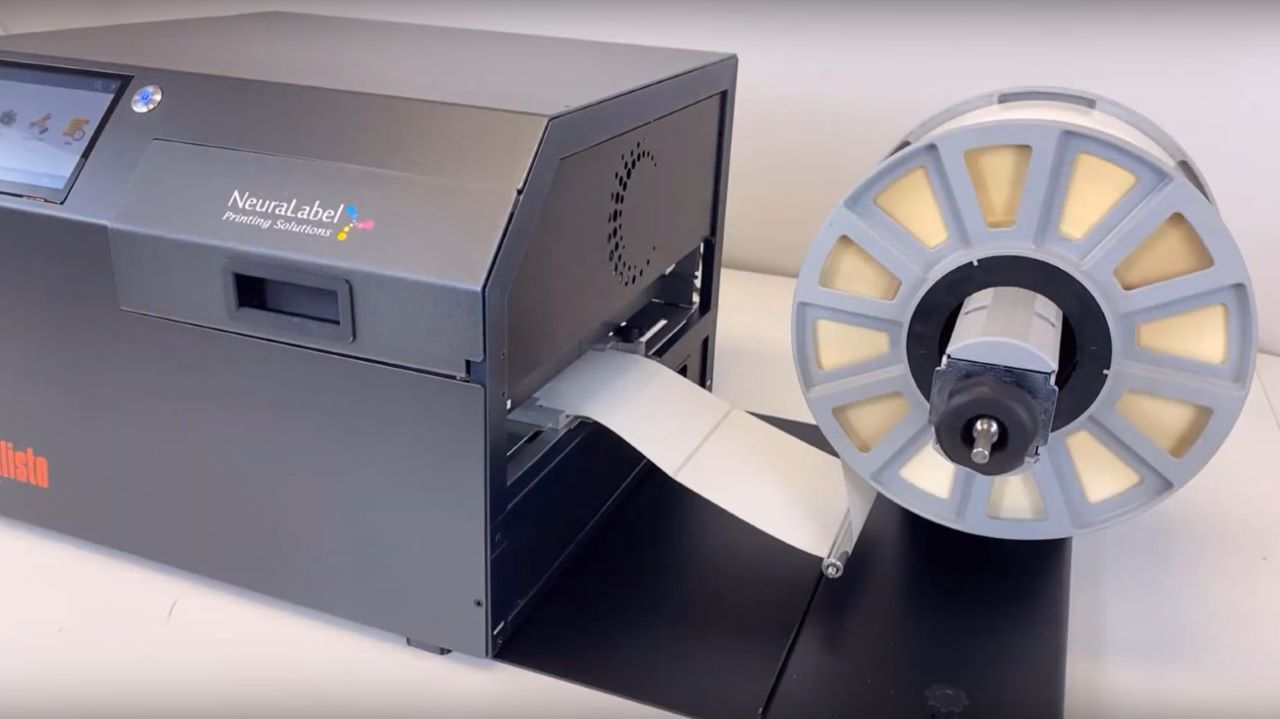
This video provides instructions for replacing the Output Surface within the Callisto printer. The printer must be powered off and open, and the BnB removed to replace the output surface. Please watch those instructional videos before attempting to remove the output tray.
A Phillips screwdriver and Allen key are required to remove the output surface.
Removing the Output Tray
There are two hex screws near the center of the printer. Using the Allen key, remove and set aside both screws.
There are two Phillips head screws at the printer exit. Using the screwdriver, remove and set aside both screws.
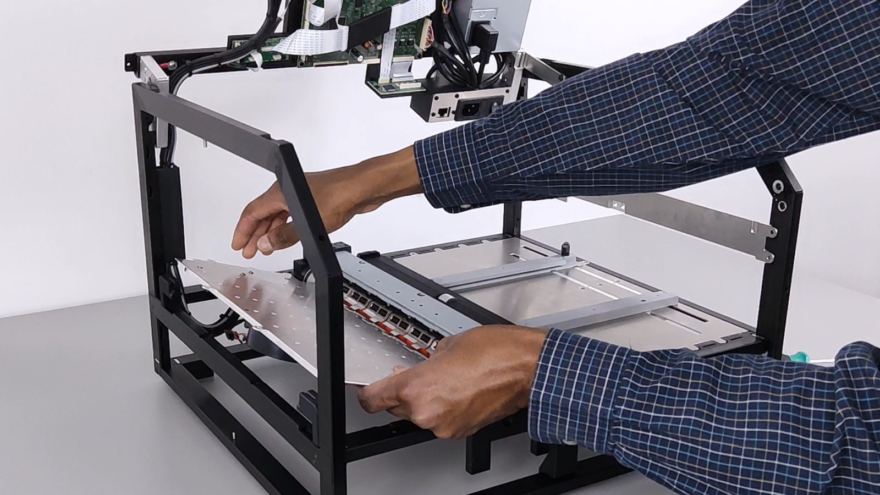
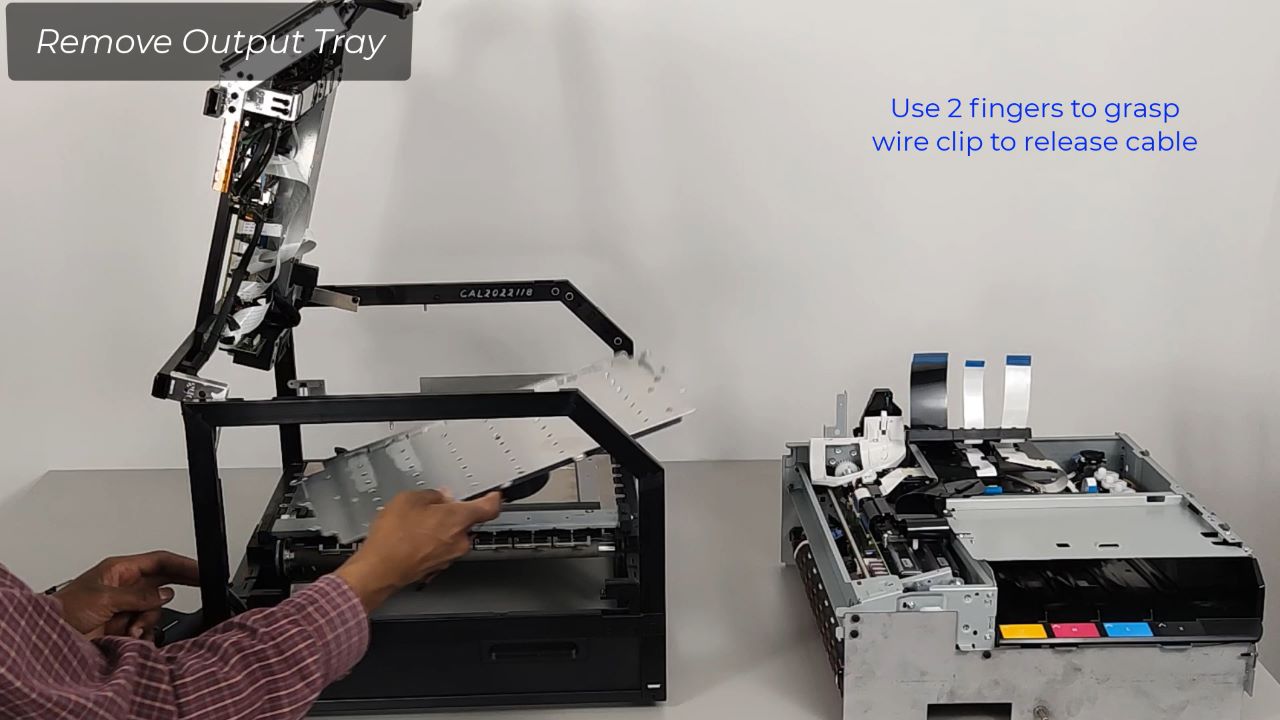
Lift the tray from the bottom with your fingers. Do not remove it completely. Gently pull up towards the printer’s opening and tilt it so you can access the space below. There is a cable connection that will need to be unplugged.
Unplug the cable by grasping the top connector, pushing down to release, and pulling straight out to unplug. Once unplugged, pull the output surface assembly out of the printer and set it aside.
Installing the Output Surface
Set the output surface on top of the printer’s floor. Reconnect the cable by slotting it into place. You should hear a click. To confirm the cable is properly connected, gently tug the black connectors in opposite directions.
Tilt the output surface towards the center of the printer and slide it in under the fins. Be careful not to force the surface into place. Once it is seated in the printer, reapply the screws.
Install the two Phillips head screws at the printer’s exit first. Do not over tighten.
Next, install the two Allen head screws toward the center of the printer. Once both screws are installed and just touching the silver plate, turn each screw one more half-turn. You might need to make additional adjustments. The goal is to get the output surface as close to the roller as possible without touching the roller.
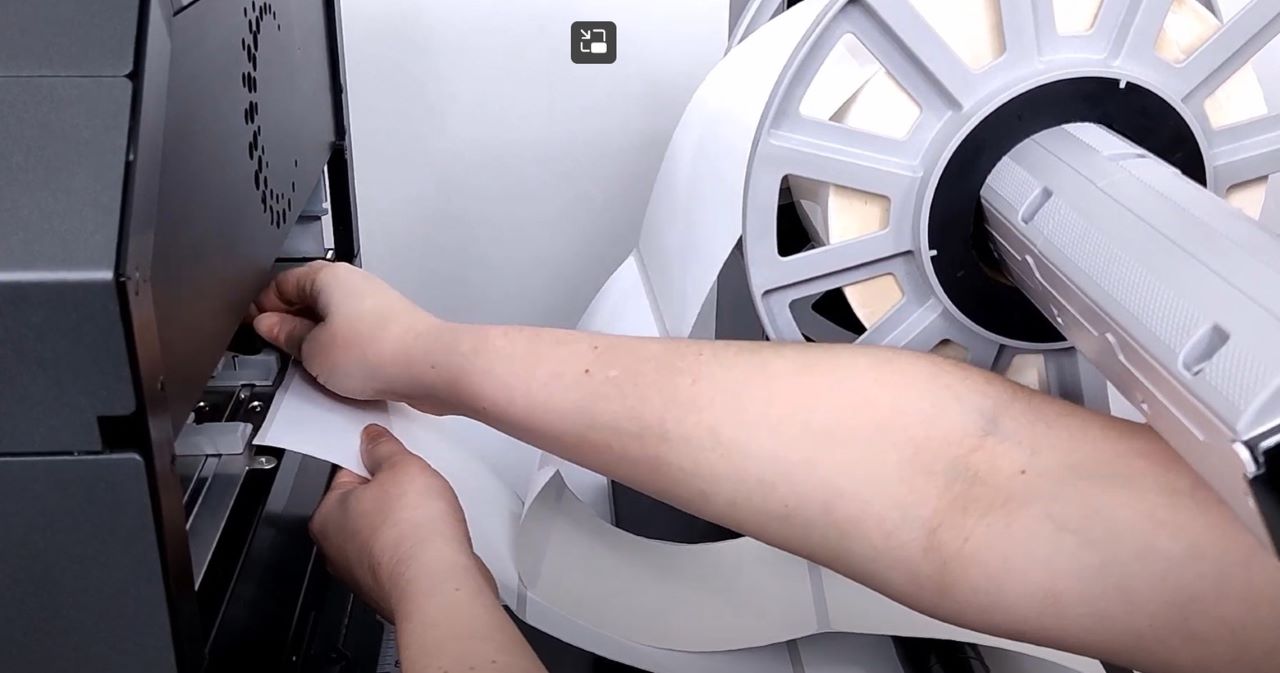
Hand-feed the roller to ensure it rolls freely. If the roller is hard to turn or you hear a clicking sound, the surface is too close to the roller and requires a slight adjustment to the Allen screws.
If you have any questions, contact support or visit the Support Library for more information.

