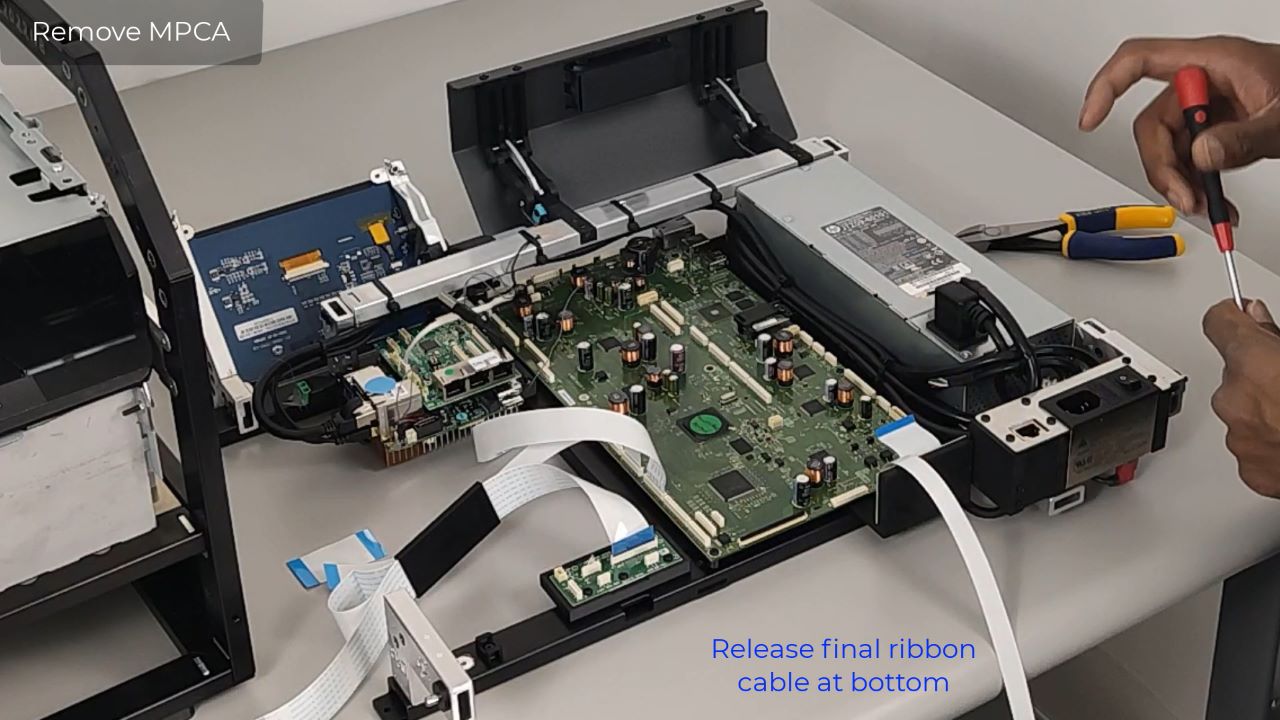
The following video shows instructions for the installation of the optional WiFi Network Card into the Callisto printer.
The Callisto Printer has an optional upgrade for wireless printing capabilities. This video demonstrates how to install the WiFi card onto the OEM1 Board.
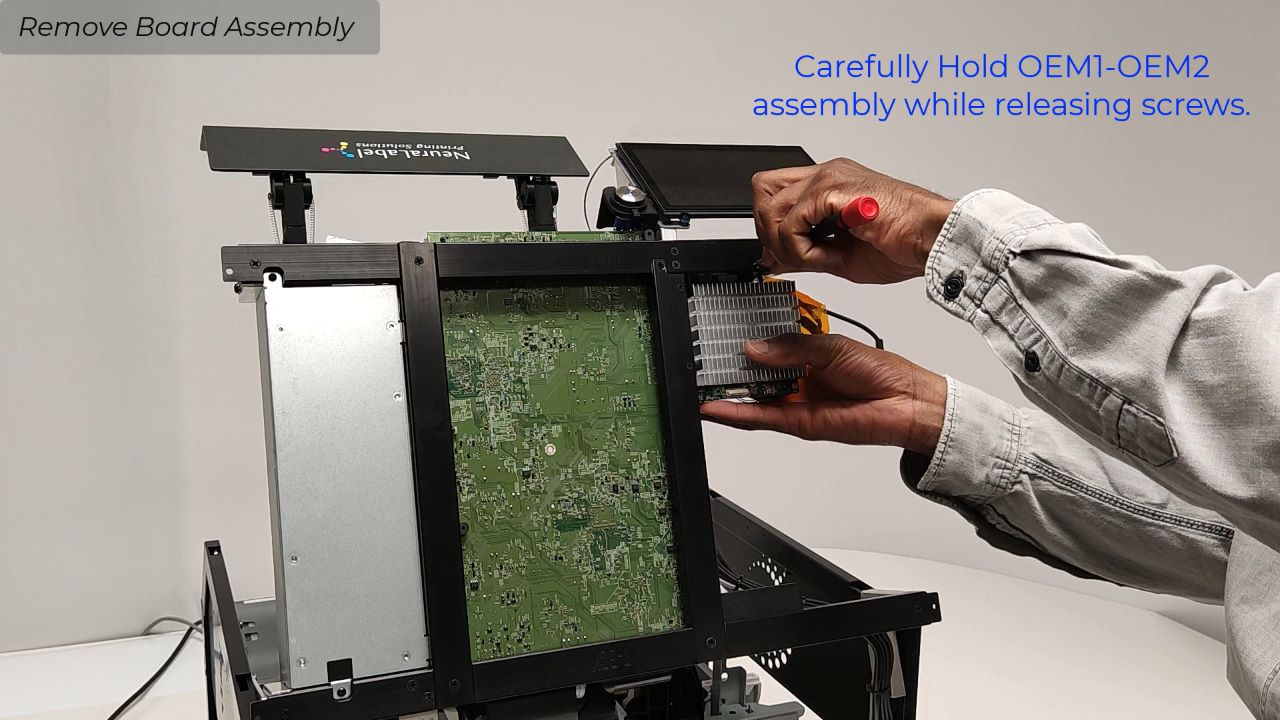
Before this video, please review and complete the removal of the Controller Board. Instructions are located in the Callisto Service Guide or on the Callisto Printer Support Library site.
The Callisto Printer has an optional upgrade for wireless printing capabilities. This video demonstrates how to install the WiFi card onto the OEM1 Board.
Before this video, please review and complete the removal of the Controller Board. Instructions are located in the Callisto Service Guide or on the Callisto Printer Advanced Support site.
Steps for installation of the Callisto WiFi card include:
- Removing the OEM2 Controller
- Installing the WiFi Card
- Reinstalling the OEM2 Controller
Be sure to watch all video steps and pause when needed.
Removing the OEM2 Controller
With the Controller Boards on a flat surface, outside of the printer, locate the two cables connecting OEM2 controller to OEM1 controller. Unplug the cables from the OEM2 controller.
Locate the four socket head screws connecting the OEM2 controller board to the OEM1 controller board. Use a 5/64th-inch hex key to unscrew the four socket head screws. The screws come out, set aside.
Remove the OEM2 controller from the OEM1 controller. Three standoff pieces will be loose after removing the OEM2 controller. Set them aside for re-assembly later.
Installing the WiFi Card
Locate the WiFi Card upgrade package. The package will include:
- One WiFi card
- One extra board screw
- One antenna cable
Plug in the antenna cable to the WiFi Card. The connector will snap onto the hub on the card. The antenna can go on to slot 1 or slot 2.
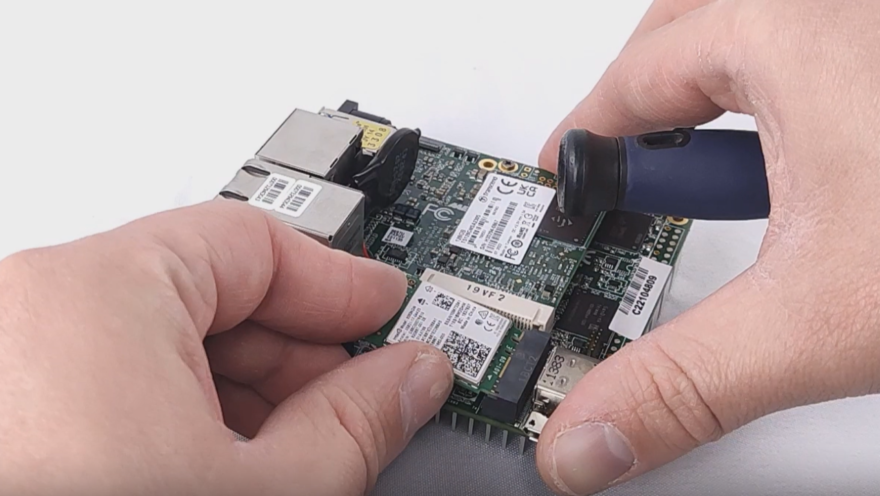
Locate the WiFi slot on the OEM1 controller board. There will already be a black screw to hold the WiFi card in place. Remove the screw before inserting the WiFi card.
Insert the WiFi Card into the black slot on the OEM1 controller. The contacts on the WiFi card will slide into the black connector. Use the black screw to lock the card in place.
Reinstalling the OEM2 Controller
Place the OEM2 controller back onto the OEM1 controller. Ensure the three standoff pieces are between the OEM1 controller and the OEM2 controller. Secure the OEM2 controller to the OEM1 controller using the four socket head screws.
Plug in the two cables connecting the OEM2 controller to the OEM1 controller.
Peel off the adhesive from the cable antenna.
Place the cable antenna on the back side of the ethernet ports on the OEM1 controller.
Install the OEM controllers back onto the Electronics Tray. Instructions are located in the Callisto Service Guide or on the Callisto Printer Advanced Support site.
Installation of the Callisto WiFi Card is complete.

