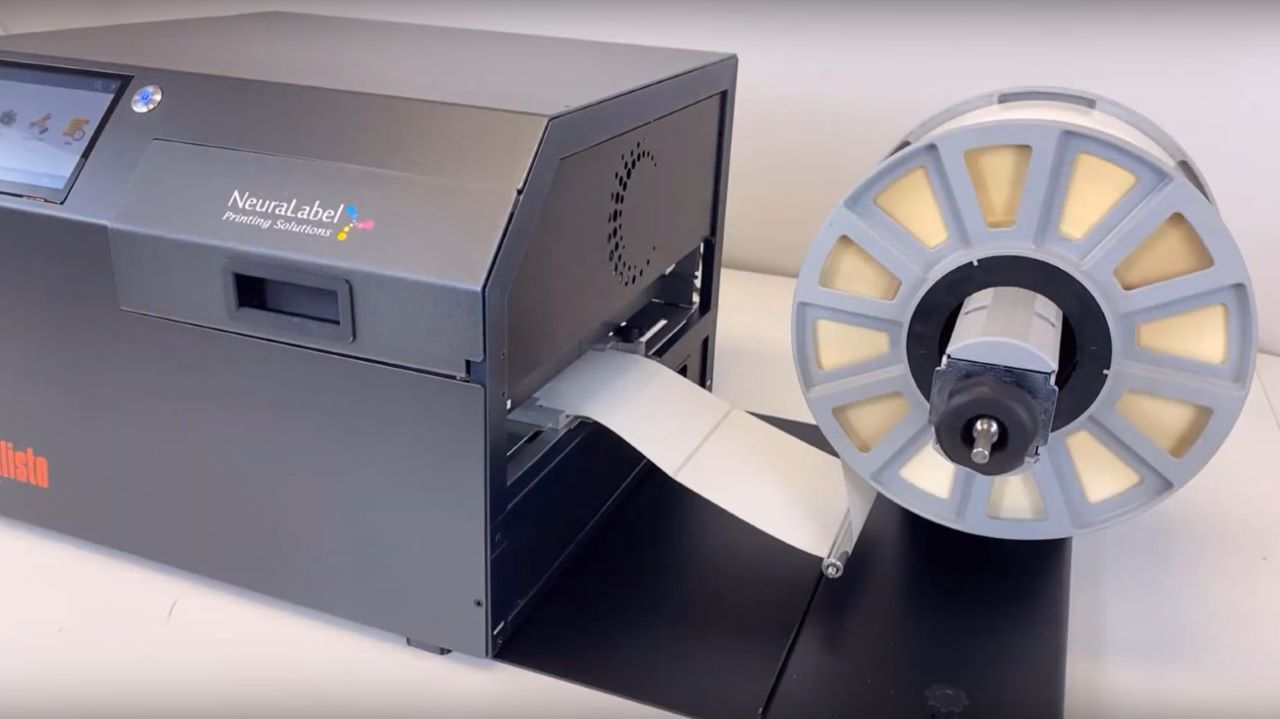
The following video provides instructions for webbing up the Callisto printer standard-sized (8.5″ wide) unwinder and rewinder.
The Callisto printer may be used with rolled media on 3-inch cores. NeuraLabel provides unwinders and rewinders that can be used with most standard rolled media. Let’s take a look at how to web up the Callisto system.
Place the Callisto printer and roll units on a sturdy table. Make sure the unwinder is at the entrance or “right” side of the printer. Make sure the rewinder is at the exit or “left” side of the printer.
Web up the unwinder with your media roll.
With the Unwinder powered Off, slide on the media roll so that the media will enter the printer face up. Slide on the unwinder flange until it touches the media and then tighten the chuck by turning the knob clockwise.
Slip the edge of the media under the unwinder arm. Unroll a few inches of excess media to give plenty of slack for loading the printer.
Load the printer by sliding the edge of the media into the printer track. The printer will grab the media when it reaches the loading sensor. Once the media is loaded, turn on the unwinder with its power button.
Web up the rewinder with an empty 3 inch core. Make sure the core width is the same as that of your media core.
With the Rewinder powered Off, slide on the media core.
Jog the media to give enough slack to attach it to the rewinder core.
Slide on the rewinder flange until it touches the core .
With the media slid under the rewinder arm, tape it onto the rewinder core.
Once you have verified that the core is the appropriate size, tighten the chuck and turn on the rewinder with its power button.
Your Callisto printing system is now fully webbed and you are ready to print.

