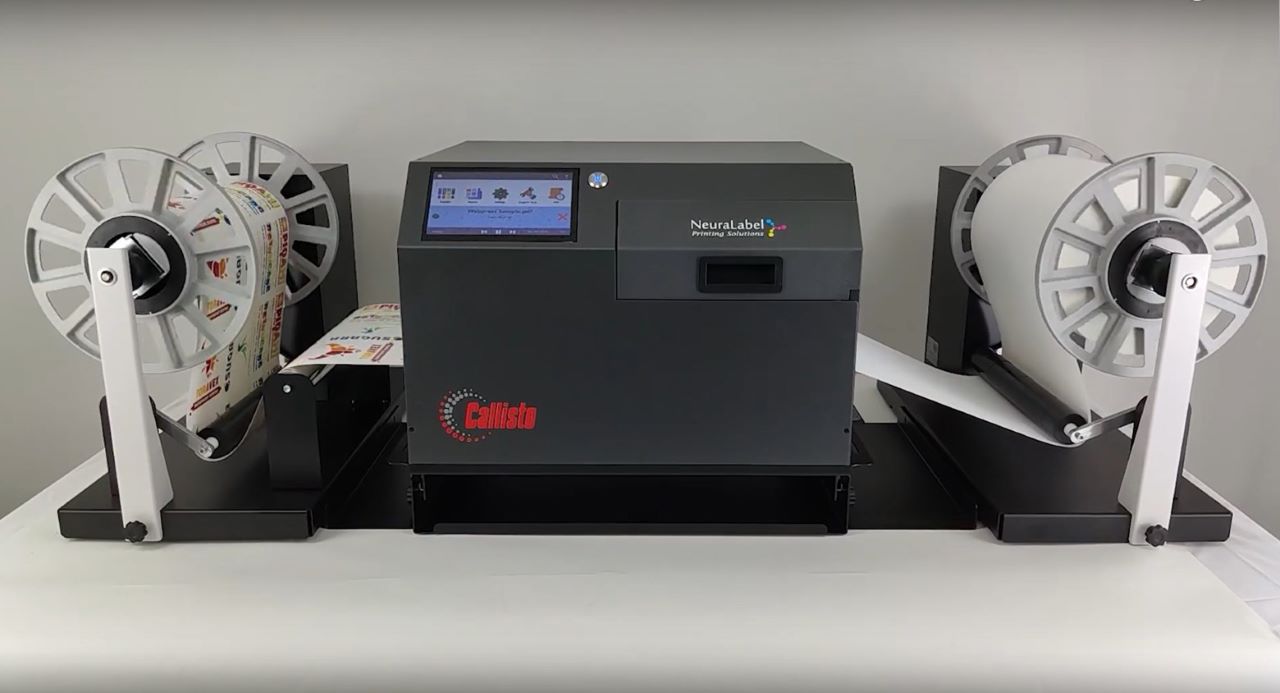
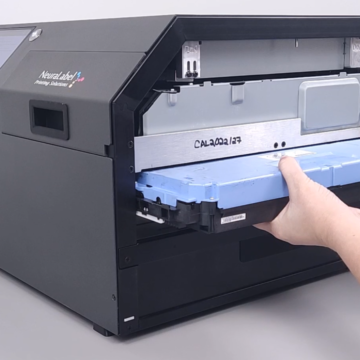
The following video will provide instructions for loading media into the Callisto 12-Inch wide Roll-to-Roll system.
Adjust the sliding printer tray based on the input roll size. Use the alignment label to ensure the media is aligned between the printer, the unwinder, and the rewinder. Place the arrow on the value corresponding with the media width loaded in the system. In this example, the labels are four inches wide with an edge-to-edge width of four and a quarter inches total construction. The guide should be aligned to four and a quarter inches.
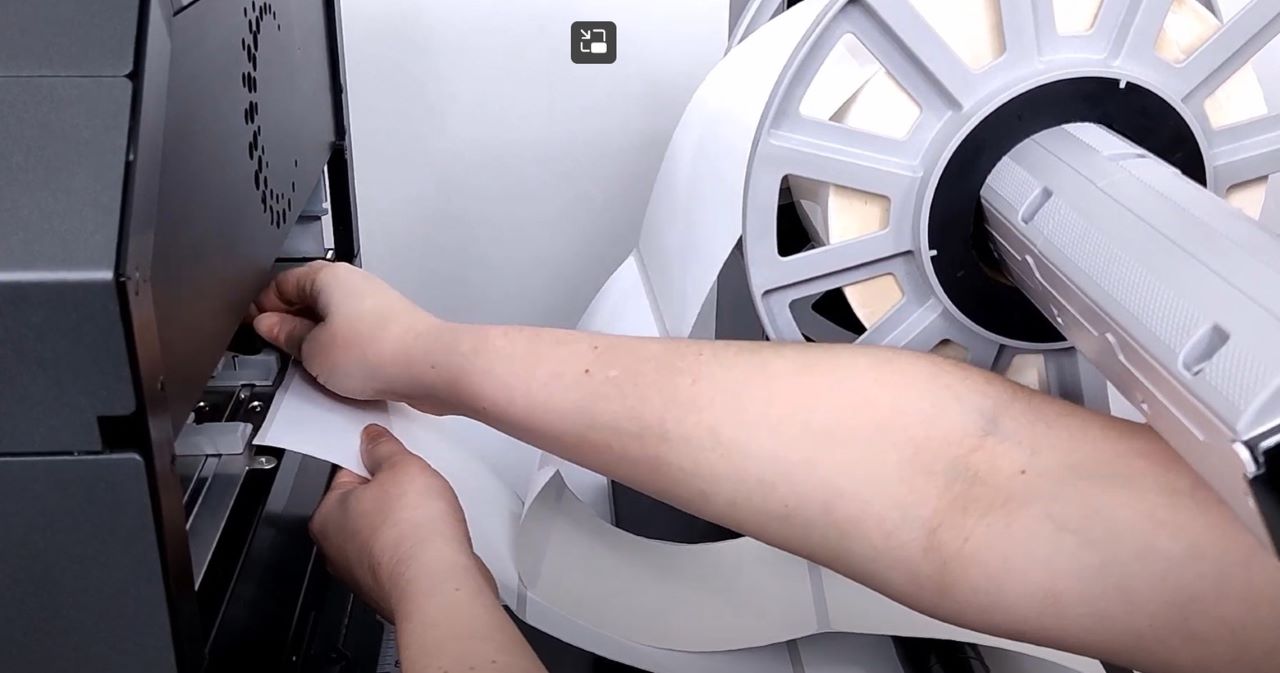
Unscrew the support for heavy rolls. Loosen the core and slide off the outer disk. Load the input roll of media and slide back on the outer disk. Tighten the core with the knob and re-install the support. Keeping the media underneath the tension arm, spin-off some excess media, and load the media into the printer. Use the thumbscrew on the Callisto guides to loosen the media guides in the printer. Adjust them to gently touch the outside of the media liner, then tighten the thumbscrew to lock them in place. With gentle forward pressure, press the media into the Callisto until the printer grabs the media with a slight tug forward. Once the printer loads the media, turn on the unwinder.
If you have media narrower than three inches, load the media underneath the narrow portion of the tension arm only. If the media is wider than three inches, load it underneath the tension arm.
On the rewinder side, unscrew the support for heavy rolls and slide off the outer disk. Load the empty cardboard core onto the shaft. Feed the media out of the printer with the feed button. Keeping the output media over the aluminum roller and underneath the tension arm. Tape it to the cardboard core. Slide the outer disk onto the core holder and set it close to the media edge. Tighten the knob and re-install the support. Feed excess media out of the Callisto, then turn on the unwinder.
The Callisto 12-Inch-Wide Roll-to-Roll System is webbed and ready for printing.

